Launching in the AWS Console
AWS Marketplace
After subscribing, go to the AWS Marketplace page for Cloud Billing Database and click Continue.

This will bring us to the 1-Click Launch, which we unfortunately cannot use as we need to use an IAM role. So we'll click on the Manual Launch tab.

Make sure to select the version we want.

Then we pick the region we want to run in. In this example we will pick the us-east-1 Launch with EC2 Console.

Choose an Instance Type
While the t2.micro instance type is capable of running the service, let's go with an m3.medium instance type instead.

Then we'll click on Next: Configure Instance Details.

Configure Instance Details
Now we can pick the IAM role we set up. Click the dropdown for the IAM role and pick the appropriate role, in this case, cloud-billing.

We can make changes to other options if we want, but when ready click the Next: Add Storage button.

Add Storage
/dev/sdf is the device the database is on. If we want more than 10 gigabytes, we can up the size.

Once the storage is the way we want, we'll click the Next: Tag Instance button.

Tag Instance
We don't need to put any tags on the instance, but we will go ahead and name the instance cloud-billing.

Other tags can be added too if desired. When ready, click the Next: Configure Security Group button.

Configure Security Group
Since we set up an EC2 security group, let's use that. So we'll click on the Select an existing security group radio button.

Then click on the security group that we set up.

Review the rules are what we set up, then click Review and Launch

Boot From General Purpose (SSD)
Because the AMI is set up with to use a magnetic rather than SSD boot volume, unless you've set this up already, we'll get the option to use SSD instead. However we'll stick with magnetic boot device for now.

Then we'll click the Next button.

Review Instance Launch
If everything is to our satisfaction, we can then click on the Launch button

Now we have to pick our key pair

Then click on the checkbox acknowledging the need for the private key to log in to the instance.

Finally, let's click on Launch Instances to actually get this instance running

Launch Status
Our instance has been launched, click on the View Instances button so we can see our instances

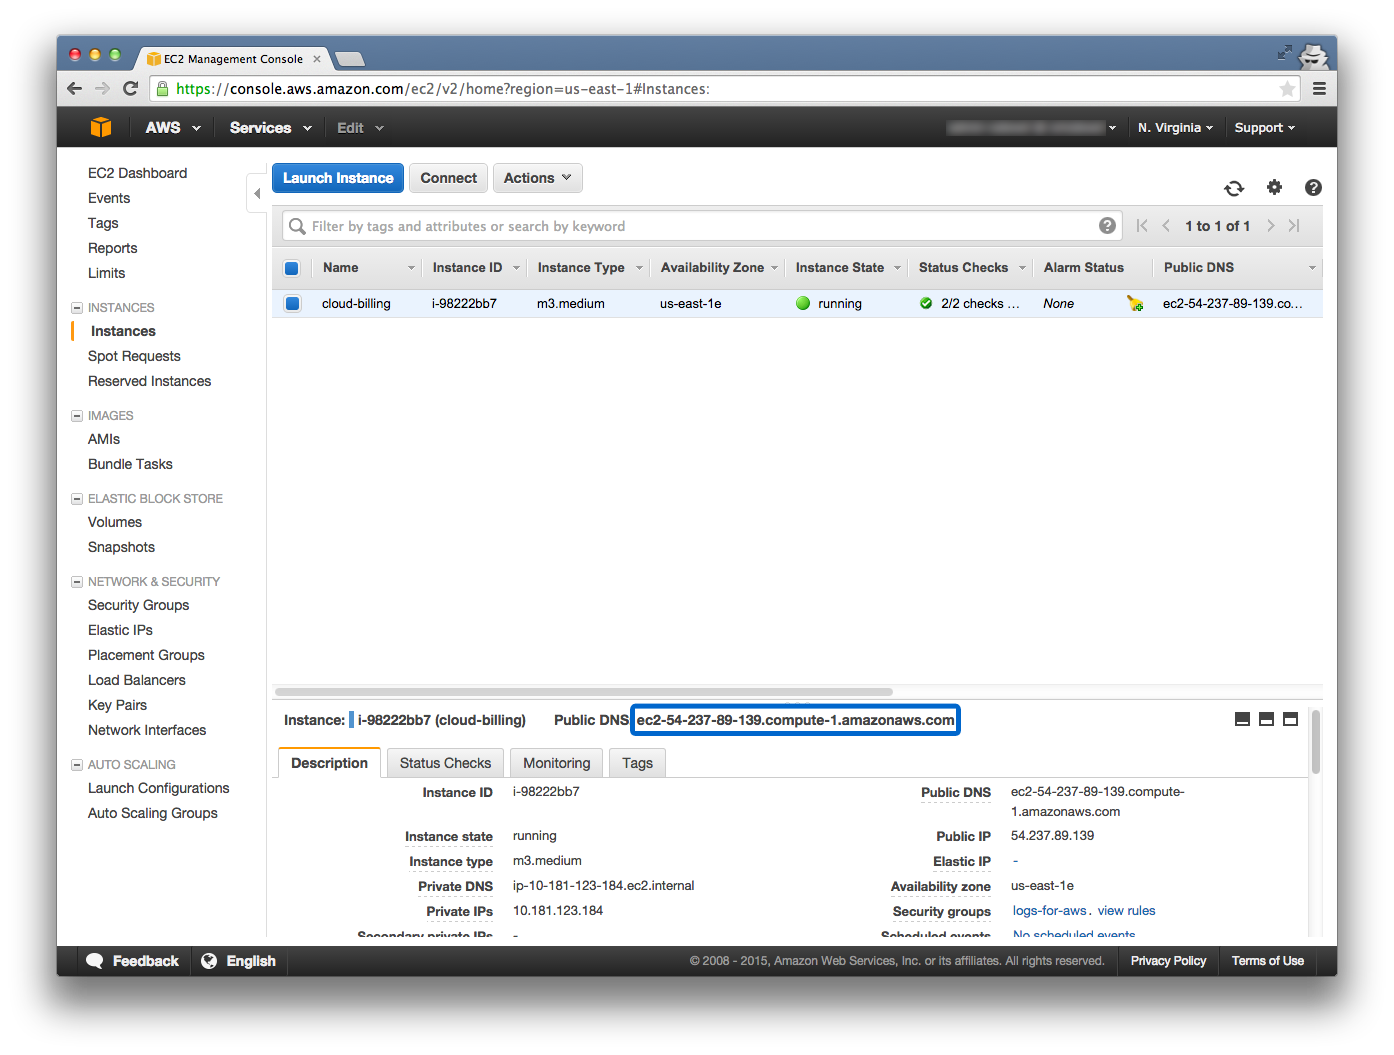
Instances
We'll note the new instance starting up

We want to wait for the Instance State to be running.

And we can get the Public DNS, which in this case is ec2-54-237-89-139.compute-1.amazonaws.com.
Waiting for the Service
Once the instance starts, it will take a few minutes for the service to start. We can check on the status by SSHing to instance
Console - user@localhost ~ $
1
2
PublicDNS="ec2-54-237-89-139.compute-1.amazonaws.com" # Set PublicDNS as appropriate
ssh -i ~/.ssh/example.pem ec2-user@$PublicDNS
We'll list the /var/log/tomcat-7/ directory:
Console - user@PublicDNS ~ $
1
sudo ls /var/log/tomcat-7/
We're waiting for a file named cloud-billing.log in that directory, which is the log file of the service. We may need to do the list directory a few times before the file is created. Once it is we can track it by running the following command:
Console - user@PublicDNS ~ $
1
sudo tail -f /var/log/tomcat-7/cloud-billing.log
Hitting Ctrl + c will exit out of tail, then exit again will log us off.