HowTo: Resize Pygoscelis Papua Linux Image
By default, the root device of a Pygoscelis Papua Linux image is 10GB. In this article, we show how to increase the size of the root device.
The overall idea is to take the snapshot of a Pygoscelis Papua Linux AMI and create a volume of the desired new size; in this example, that will 20 GB. We’ll then attach the volume to an instance so we can update the partition. Finally we’ll take a snapshot of the volume to create a new AMI with a larger root block device.
Startup
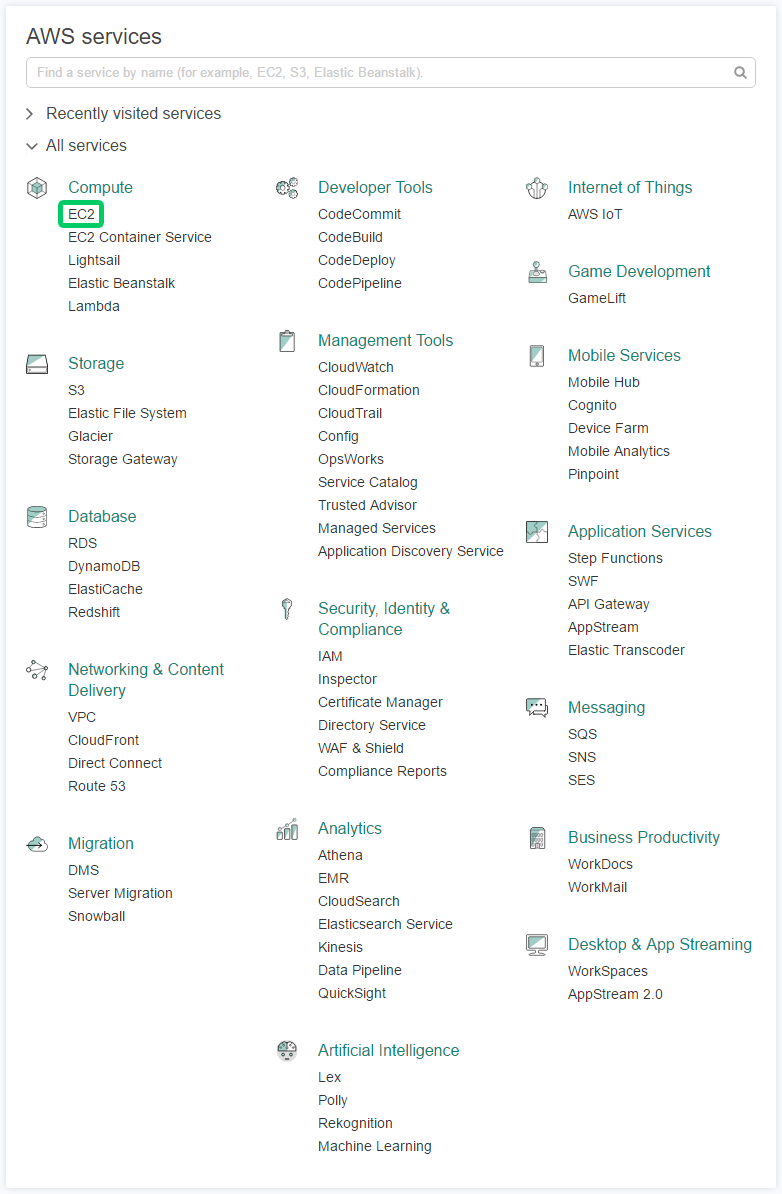
Start by going to the AWS Console and clicking on EC2.
Then click on AMIs.

Click in the search field.

We’ll put in the AMI we want to search for, in this case ami-fcec68eb, and then hit Enter. Nothing will come up because we are just searching AMIs Owned by me, and we need to switch to public images. So click on Owned by me.

And select Public images

Now the info for the AMI will come up. Note the snapshot for the root device. In this case it is snap-751db097.

If you haven’t started a resizing instance yet, right click on the AMI and click Launch to start the process to get a new instance. The instance does not need to be powerful, a t2.micro is plenty good for this job.

However if an instance is up already, just click on Instances.

Now that the instance is up and running, note the Name if it is set, Instance ID and Availability Zone. In this example the name is resizer, the instance id is i-e594c675, and it is in availability zone us-east-1a.

We want to create a new volume, so click on Volumes.

Click on Create Volume.

Here is the Create Volume dialog:

We want to set it up like so:
- Volume Type
Magnetic- Size (GiB)
20, or whatever the new desired size is.- IOPS
- Not Applicable
- Throughput (MB/s)
- Not Applicable
- Availability Zone
us-east-1a, or whatever availability zone the resizer instance is in.- Snapshot ID
snap-751db097, or whichever snapshot is desired to be resized.- Encryption
- Not Encrypted
Once the desired values are set, click the Create button.

Wait until the state of the new volume is available.

Then right click on the new volume and select Attach Volume.

Click in the Instance field.

And a list of instances in the availability zone will appear, click on the desired instance.

It will default the device to /dev/sdf, leave that as is and then click the Attach button.

Wait for the the volume to be attached to the instance.

Resize
We’ll log in to the instance as ec2-user. Then we’ll switch to root.
Console - ec2-user@hostname ~ $
1
sudo su -
Now we’ll mount the volume.
Console - root@hostname ~ #
1
mount /dev/xvdf1 /mnt
List the contents, so we know there is stuff there.
Console - root@hostname ~ #
1
ls /mnt
Output
1
2
bin dev home lib64 media opt root sbin tmp var
boot etc lib lost+found mnt proc run sys usr
Check the size of the partitions. Note the /dev/xvdf1 entry.
Console - root@hostname ~ #
1
df -k
Output
1
2
3
4
5
6
7
Filesystem 1K-blocks Used Available Use% Mounted on
/dev/xvda1 10189112 3160404 6488088 33% /
devtmpfs 10240 0 10240 0% /dev
tmpfs 102348 256 102092 1% /run
none 511736 0 511736 0% /dev/shm
cgroup_root 10240 0 10240 0% /sys/fs/cgroup
/dev/xvdf1 10189112 3160288 6488204 33% /mnt
Unmount the device.
Console - root@hostname ~ #
1
umount /mnt
Now we’ll use fdisk to resize the partition.
Console - root@hostname ~ #
1
fdisk /dev/xvdf
Output
1
2
3
4
5
6
Welcome to fdisk (util-linux 2.26.2).
Changes will remain in memory only, until you decide to write them.
Be careful before using the write command.
Command (m for help):
We’ll print the partitions on the disk. Type p then press Enter.
fdisk
1
p
Output
1
2
3
4
5
6
7
8
9
10
11
Disk /dev/xvdf: 20 GiB, 21474836480 bytes, 41943040 sectors
Units: sectors of 1 * 512 = 512 bytes
Sector size (logical/physical): 512 bytes / 512 bytes
I/O size (minimum/optimal): 512 bytes / 512 bytes
Disklabel type: dos
Disk identifier: 0xa87677d7
Device Boot Start End Sectors Size Id Type
/dev/xvdf1 2048 20971519 20969472 10G 83 Linux
Command (m for help):
We’ll delete a partition. Type in d then press Enter. Because there is only one partition it won’t ask which one to delete. Although we’ll be deleting the partition, we’ll be creating a new one over it so nothing is being erased.
fdisk
1
d
Output
1
2
3
4
Selected partition 1
Partition 1 has been deleted.
Command (m for help):
Now we’ll recreate the partition. Type n then press Enter.
fdisk
1
n
Output
1
2
3
4
Partition type
p primary (0 primary, 0 extended, 4 free)
e extended (container for logical partitions)
Select (default p):
We want a primary partition. Type p then press Enter.
fdisk
1
p
Output
1
Partition number (1-4, default 1):
We want partition number 1, so type 1 then press Enter.
fdisk
1
1
Output
1
First sector (2048-41943039, default 2048):
Accept the default for the first sector, just press Enter.
Output
1
Last sector, +sectors or +size{K,M,G,T,P} (2048-41943039, default 41943039):
Same for the last sector, press Enter to accept the default
Output
1
2
3
Created a new partition 1 of type 'Linux' and of size 20 GiB.
Command (m for help):
Now to save the changes. Type w then press Enter.
fdisk
1
w
Output
1
2
3
The partition table has been altered.
Calling ioctl() to re-read partition table.
Syncing disks.
Now we’ll check that everything is still there. So we’ll mount the device again.
Console - root@hostname ~ #
1
mount /dev/xvdf1 /mnt
And list the contents, everything should be as it was.
Console - root@hostname ~ #
1
ls /mnt
Output
1
2
bin dev home lib64 media opt root sbin tmp var
boot etc lib lost+found mnt proc run sys usr
Check the size, noting the /dev/xvdf1 entry.
Console - root@hostname ~ #
1
df -k
Output
1
2
3
4
5
6
7
Filesystem 1K-blocks Used Available Use% Mounted on
/dev/xvda1 10189112 3160416 6488076 33% /
devtmpfs 10240 0 10240 0% /dev
tmpfs 102348 256 102092 1% /run
none 511736 0 511736 0% /dev/shm
cgroup_root 10240 0 10240 0% /sys/fs/cgroup
/dev/xvdf1 10189112 3160288 6488204 33% /mnt
Unfortunately that hasn’t changed, so we’re not quite done yet. We need to resize the filesystem, which is done like so:
Console - root@hostname ~ #
1
resize2fs /dev/xvdf1
Output
1
2
3
4
resize2fs 1.42.13 (17-May-2015)
Filesystem at /dev/xvdf1 is mounted on /mnt; on-line resizing required
old_desc_blocks = 1, new_desc_blocks = 2
The filesystem on /dev/xvdf1 is now 5242624 (4k) blocks long.
Show file system disk space usage again.
Console - root@hostname ~ #
1
df -k
Output
1
2
3
4
5
6
7
Filesystem 1K-blocks Used Available Use% Mounted on
/dev/xvda1 10189112 3160416 6488076 33% /
devtmpfs 10240 0 10240 0% /dev
tmpfs 102348 256 102092 1% /run
none 511736 0 511736 0% /dev/shm
cgroup_root 10240 0 10240 0% /sys/fs/cgroup
/dev/xvdf1 20510332 3165356 16384976 17% /mnt
And now we see that it has expanded. Unmount the device.
Console - root@hostname ~ #
1
umount /mnt
Create New Image
Go back to Volumes page we were on in the AWS console, right click on the new volume and click Detach Volume.

We’re sure we want to detach it, so click Yes, Detach.

Right click on the volume again and click on Create Snapshot.

This is the Create Snapshot dialog box:

We’ll set it like so:
- Name
Pygoscelis-Papua_Gentoo-20GB-2016-07-06-00-41-20- Description
Pygoscelis Papua Linux 20GB 2016-07-06T00:41:20Z
Once those are set, click the Create button.

The snapshot creation process has started, click on the view snapshot link.

Wait for the snapshot to complete. It’s status will show completed when it is done.

Right click on the snapshot and choose Create Image.

Here is the Create Image from EBS Snapshot dialog box:

We’ll set:
- Name
Pygoscelis-Papua_Gentoo_HVM-20-2016-07-06-00-41-20- Description
Pygoscelis Papua HVM 20GB 2016-07-06T00:41:20Z- Architecture
x86_64- Virtualization type
Hardware-assisted virtualization- Root device name
/dev/xvda- Kernel ID
Use default- RAM disk ID
Use default
For the block device mapping, change the Volume Type of the Root volume to Magnetic.
Once that is done, click on Add New Volume

We’ll change the Volume Type from EBS to Instance Store 0, but leave the device as /dev/sdb.

Click on Add New Volume again and repeat the process; having Instance Store 1 be /dev/sdc, Instance Store 2 be /dev/sdd, Instance Store 3 be /dev/sde.

Once this is done, we’ll click the Create button to create the image.

The image creation process has started, click on the pending image link to see the new image.

On the AMIs page, it still may be searching just public images. If so, click the Public images and change to Owned by me.

And here is the information about our new image:

Startup New Image
If we launch the instance and log into it, we can list the filesystems and look at the /dev/xvda1 entry to see it is the desired size.
Console - ec2-user@hostname ~ $
1
df -k
Output
1
2
3
4
5
6
Filesystem 1K-blocks Used Available Use% Mounted on
/dev/xvda1 20510332 3165468 16384864 17% /
devtmpfs 10240 0 10240 0% /dev
tmpfs 102348 248 102100 1% /run
none 511736 0 511736 0% /dev/shm
cgroup_root 10240 0 10240 0% /sys/fs/cgroup