HowTo: Create an IAM Policy
IAM policies are how one applies permissions to users, groups and roles. Managed IAM policies are standalone policies that can be attached to multiple identities (users, groups, and roles) and when the policy changes, it immediately applies to the attached identities. In this article we see how to create a managed IAM policy.
For this example, we’ll create a policy to allow read access to an S3 bucket named billing-example. For other policies, just change the policy name, description, and policy document as appropriate.
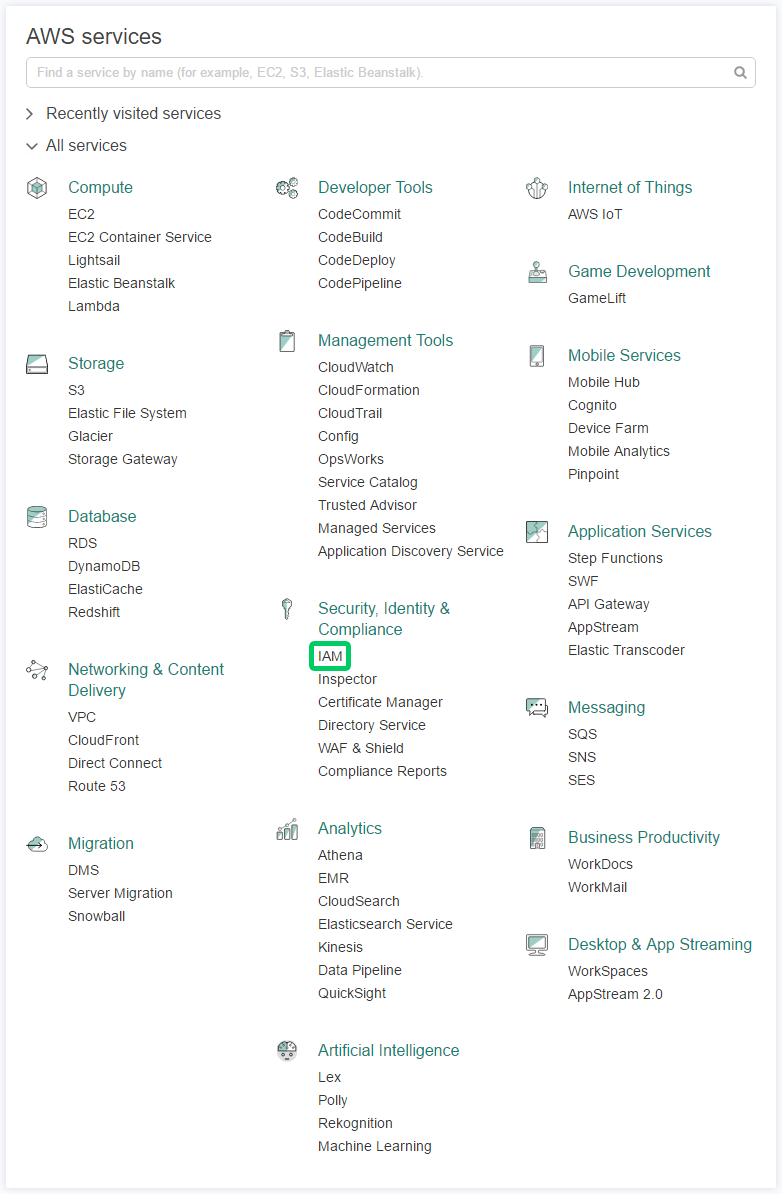
We’ll start this by going to the AWS Console and clicking on IAM.
Click on Policies

We’ll click on the Get Started button.

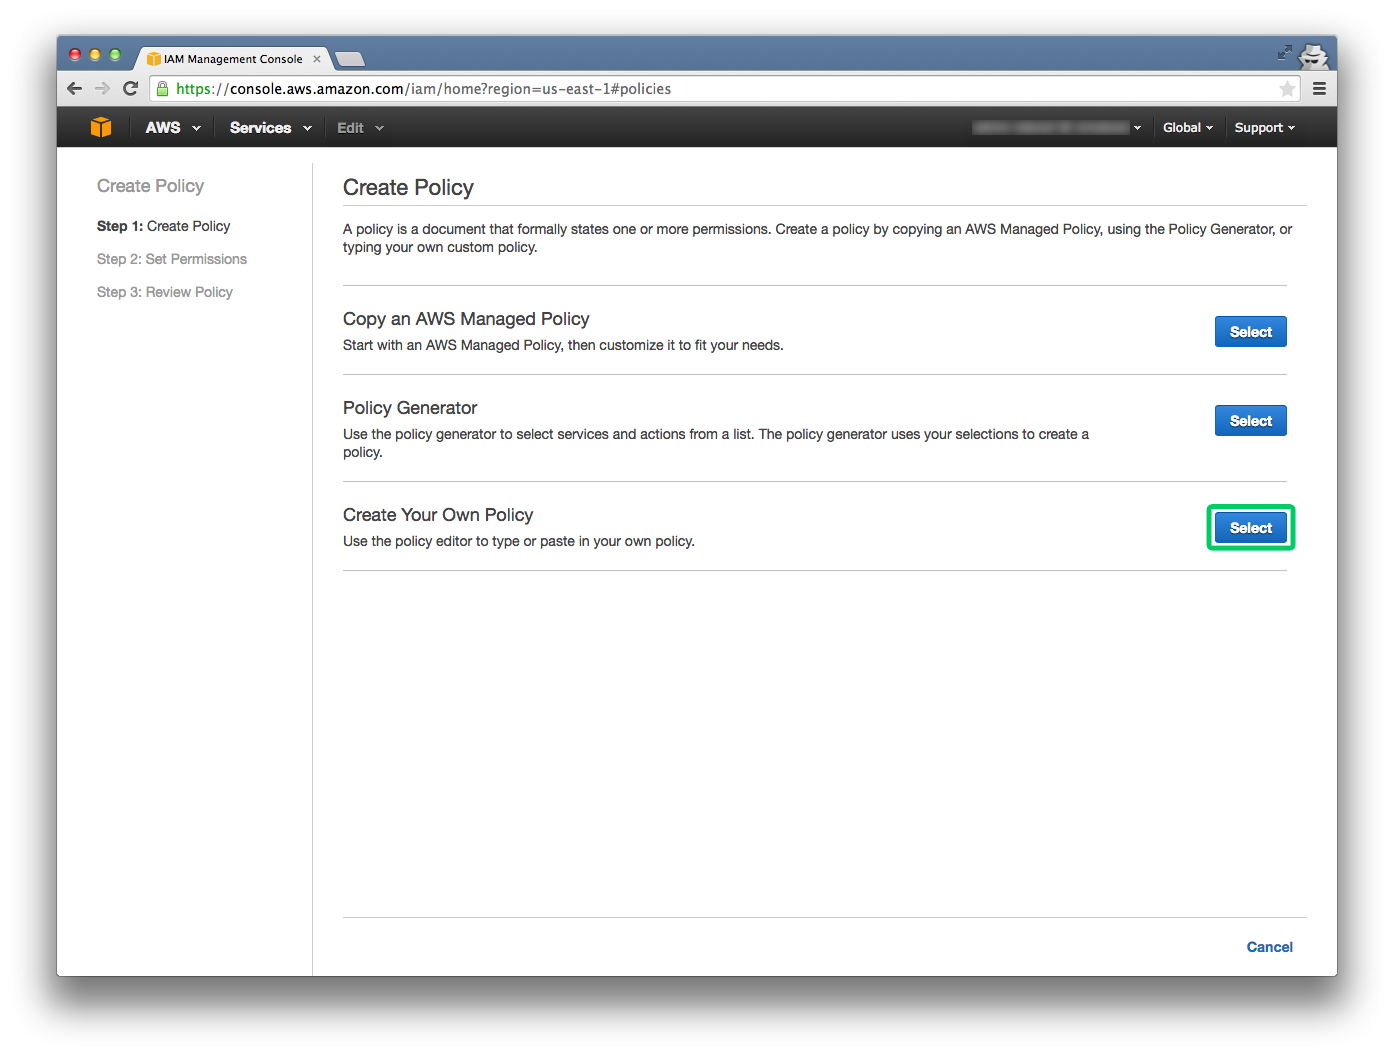
Then we’ll click on the Create Policy button.

And we will create our own policy.
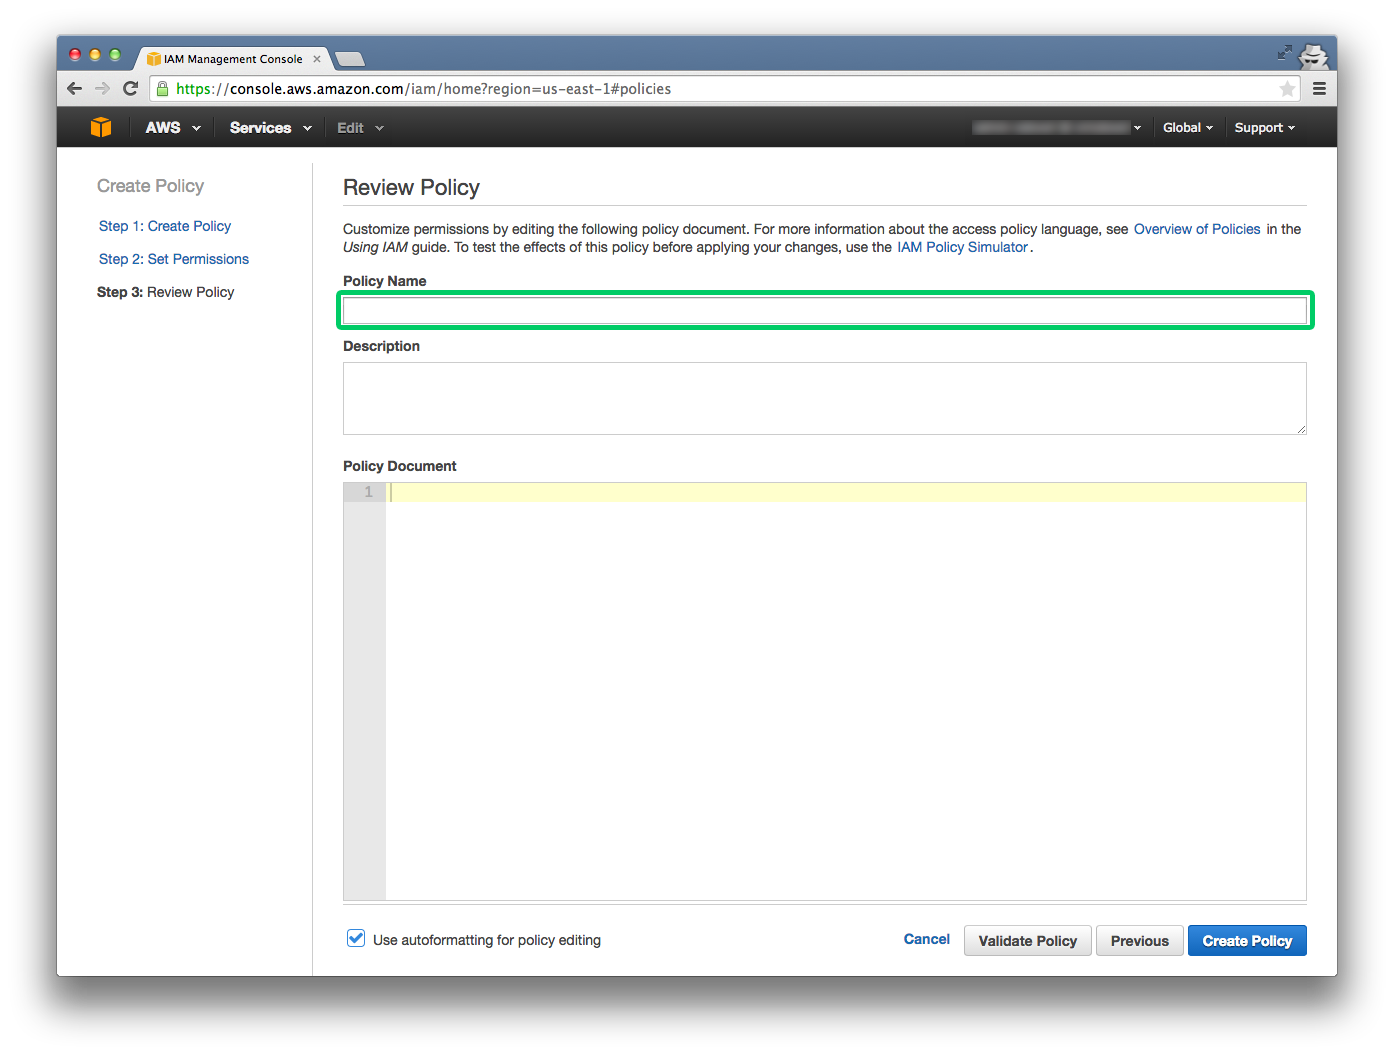
In this article, we’ll set the policy name to be ReadBilling.
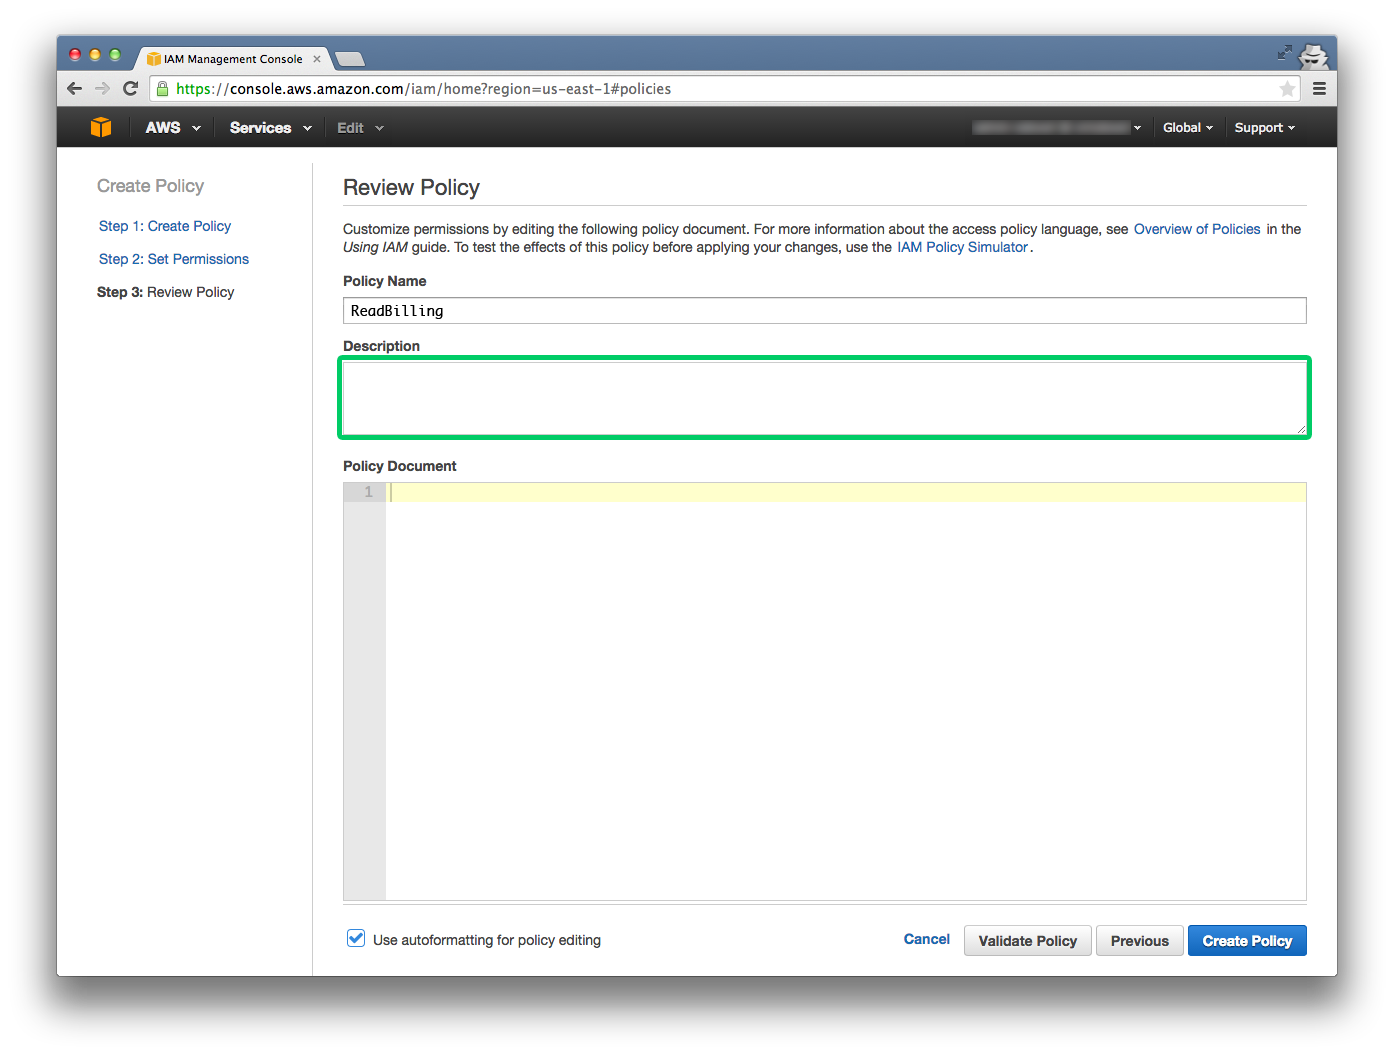
And we will use the description Read billing files.
We will set the policy document now:

Policy document will be:
Policy Document
1
2
3
4
5
6
7
8
9
10
11
12
13
14
15
{
"Version": "2012-10-17",
"Statement": [
{
"Effect": "Allow",
"Action": "s3:GetObject",
"Resource": "arn:aws:s3:::billing-example/*"
},
{
"Effect": "Allow",
"Action": "s3:ListBucket",
"Resource": "arn:aws:s3:::billing-example"
}
]
}
Press the Validate Policy button to check the policy.

If the policy is valid, a message will appear to say so.

Then we’ll press the Create Policy button.

And now the policy is created.
